Category: Science Fiction

  • Darkstar

    Building the Bellfine 1/72 Darkstar from Top Gun: Maverick

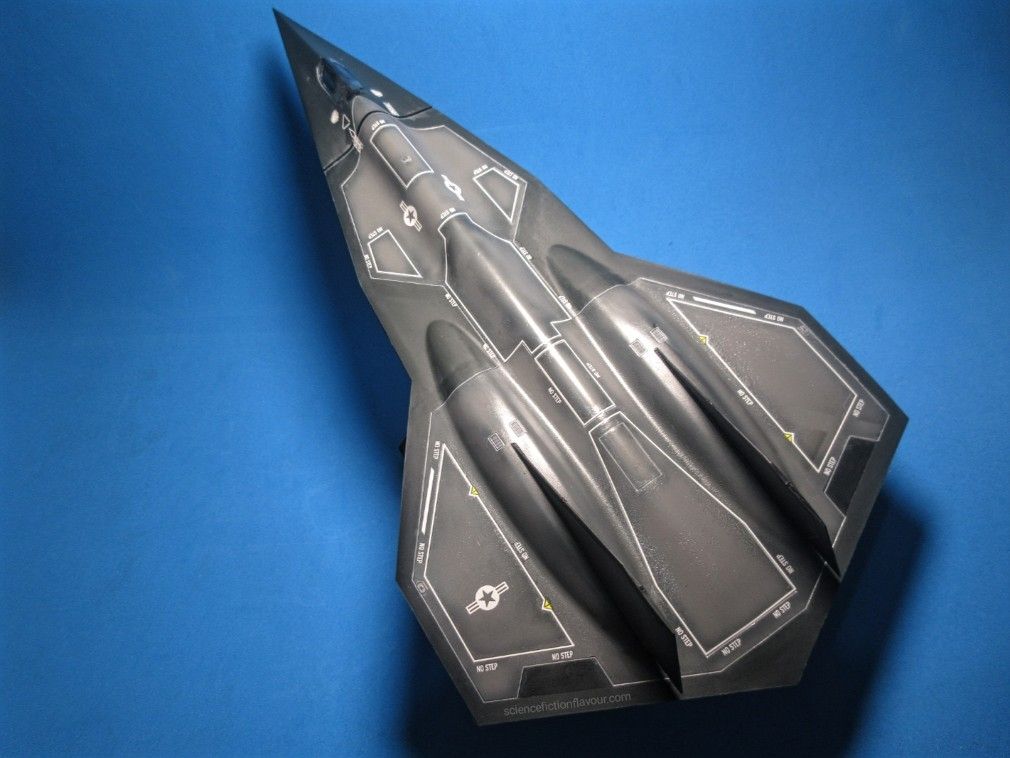
    The Darkstar sequence from Top Gun: Maverick was one of the most memorable parts of the film for me, so I decided to pick up the Bellfine 1/72 scale kit and attempt a full painted build. Although the aircraft itself is fictional, its presentation in the movie blends futuristic aerospace styling with realistic experimental aircraft design, which made it an interesting project to work on.

    Initial Preparation and Painting

    The kit runners came moulded in black, white, and clear plastic. For the main body, I airbrushed the black and white runners using Mr. Hobby Mr Color No.18. The clear parts were left unpainted to preserve their transparency.

    After allowing the base coat to settle, I began masking selected areas using 5 mm masking tape. The highlighted sections were then airbrushed with Mr. Hobby Mr Color No.13 Neutral Grey. This helped break up the otherwise dark surface and introduced subtle tonal variation across the aircraft.

    The white sections were lightly weathered using Character White to reduce the stark contrast and give the aircraft a slightly more operational appearance rather than a factory-fresh finish.

    Assembly Process

    Once painting was completed, assembly of the main airframe proceeded relatively smoothly. The sleek fuselage and blended wing design captured the cinematic appearance of Darkstar very well once fully assembled.

    The landing gear, however, turned out to be the most delicate part of the project. The subassemblies had to be glued progressively in phases due to the small contact points and narrow support structures. I used Tamiya cement throughout the process, but even after curing, the assembled landing gear remained fragile under the weight of the completed aircraft.

    After completing the landing gear installation and photographing the model in its parked configuration, parts of the assembly began separating under load. To avoid further damage, I eventually removed the landing gear and decided to display the aircraft exclusively in flight mode.

    Display Solution

    One unexpected challenge was the absence of an included display stand. Since the Darkstar is visually better suited for an airborne presentation, I improvised by adapting a Bandai Action Base using the peg-type holder attachment.

    Although it was not specifically designed for this kit, the setup provided enough support for stable flight-mode display and photography. In the end, the airborne presentation arguably suited the aircraft more naturally than a grounded configuration.

    Decal Application

    Applying the water slide decals took approximately an hour. Once the decals had dried, I used a damp cotton bud to gently remove residual water marks and adhesive residue surrounding the decal edges. This helped the markings blend more cleanly into the painted surface and improved the overall finish of the model.

    Final Thoughts

    Despite some engineering limitations — particularly the fragile landing gear and lack of a dedicated display stand — the Bellfine 1/72 Darkstar still turned out to be an enjoyable and visually striking build.

    The combination of dark tones, subtle grey panel variation, and in-flight presentation helped capture the futuristic hypersonic aircraft aesthetic seen in Top Gun: Maverick. While the kit required some improvisation and patience during assembly, the final result displays very well and stands out nicely alongside more conventional aircraft models.

    Overall, this project felt like a blend of traditional aircraft modelling and science-fiction display building, which made it a uniquely satisfying addition to the collection.

  • Mewtwo

    Mewtwo Plastic Model from Bandai


    Preparation
    The build started with nitrile gloves to avoid fingerprints, and all runners were unpacked and prepped for painting. A base coat of Mr. Hobby Mr. Colour No. 18 (semi-gloss black) was applied to create a solid foundation and subtle depth for the colours to come.


    Colour Tones and Weathering
    The kit’s runners came in two shades of purple—light and dark.


    ▪︎Light purple parts: Subtle weathering was applied using Gundam Colour MS Purple, enhancing depth while preserving the base tone.


    ▪︎Dark purple parts: A custom colour was mixed from:
    •MS Purple
    •Mr. Hobby 605 (semi-gloss)
    •Mr. Hobby Character Red (semi-gloss)


    These darker parts were carefully weathered to bring out shadows and contrast, giving the model a dynamic, lifelike appearance.


    Eyes and Facial Details
    The eyeballs were highlighted with a silver marker, and the pupils were outlined with dark pink and black markers. This created a subtle panda-eye effect, giving Mewtwo a hostile, sleep-deprived expression that emphasizes its awakened and intense personality.


    Curing
    All parts were allowed to cure overnight to ensure the semi-gloss paint hardened fully, minimizing the risk of fingerprints or smudges.


    Summary
    This build goes beyond a standard plastic kit: careful base coating, custom colour mixing, weathering, and detailed eye work transform the figure into a collector-grade display piece that captures the character’s intensity and cinematic quality.

  • Bulbasaur

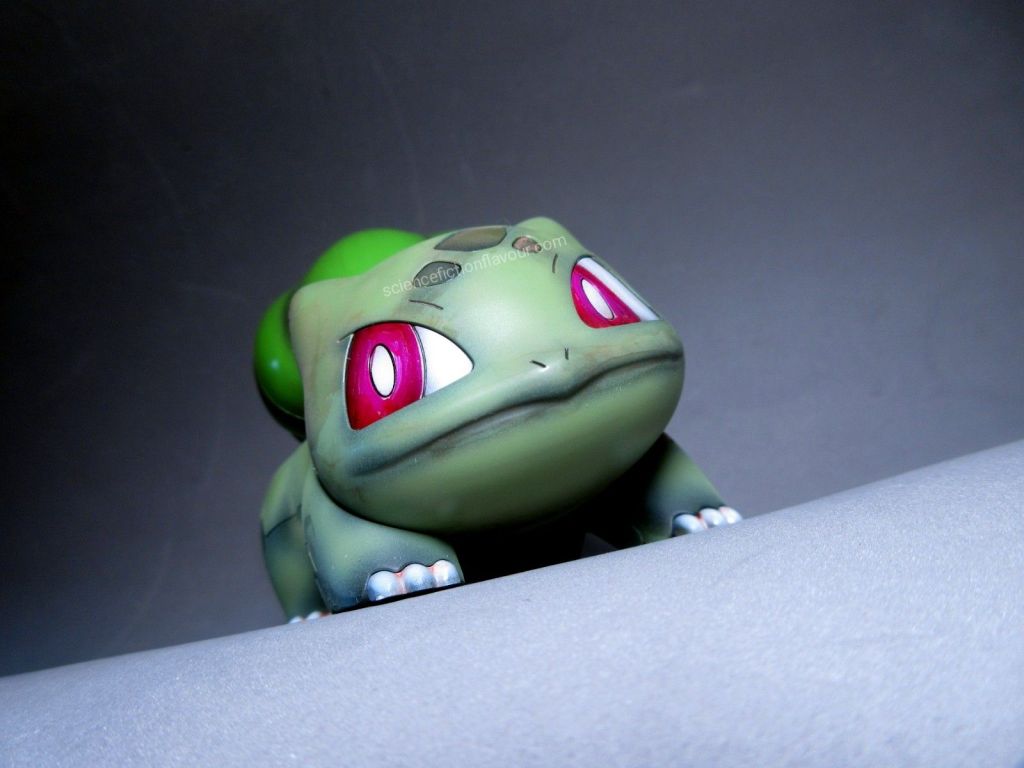
    This build of the Bandai Bulbasaur plastic model focused on depth, tonal variation, and precise surface control. The goal was to elevate a simple kit into a cohesive, visually dynamic piece through careful layering, panel detailing, and considered adjustments.


    Base and Body Layers
    Each part was first coated with a dark base to establish natural shadows and underlying contrast. The body sections were then airbrushed using three distinct shades of green — Mr. Hobby Mr. Color No. 64, 303, and 605. Layered application preserved subtle hints of the darker undercoat, preventing the finish from appearing flat and giving the model a more dimensional presence.


    Whites, Reds, and Eye Detailing
    White and red components were finished in semi-gloss for clarity and restrained shine. During the eye detailing stage, a slight freehand overspray caused some white to mist into the red area. Rather than stripping and repainting, the section was corrected using a dark pink marker. The resulting dark-pink-and-white combination added a softer character to the eyes, complementing the overall finish.


    Panel Lines
    To enhance sculpted details, Tamiya Accent Color Panel Line (Black) was applied carefully into recessed lines. Excess wash was removed using enamel thinner and a cotton bud, leaving behind controlled definition that sharpens the contours without overpowering the softer paint tones.


    Final Assembly and Reflection
    Once fully cured and assembled, the model feels cohesive and balanced. The interplay between layered greens, subtle shading, and refined panel lining elevates the kit beyond its base form. Minor adjustments along the way — such as the eye correction — became part of the build’s character rather than setbacks.
    This build demonstrates how patience, layering, and small course corrections can transform a straightforward kit into a polished, display-ready model.

  • Tyrannosaurus Rex

    This is a 1/35 scale model kit from X-Plus. I began by soaking the unpainted parts in warm soapy water overnight, then rinsed and dried them the following day.

    The dried parts were airbrushed while still on their runners. I used Mr. Hobby Mr. Color paint no. 18 as the base coat, and Mr. Color paint no. 22 for spot accentuations that gradually evolved into larger patch highlights, giving the skin a natural, mottled appearance. To bring out the fine sculpted details, I applied dark Tamiya Panel Accent Color in the recesses. The tongue was airbrushed in Character Red (Mr. Color paint no. 108) and a touch of bright Tamiya Panel Accent Color was used to simulate saliva.

    For the facial details, I highlighted the eyes with gold permanent marker and added pupils with a fine dark marker. All teeth were painted using a silver permanent marker, giving the mouth a dramatic, striking look.

    Final assembly was straightforward but required patience. Since the kit is non-snap-kit, I built subassemblies step by step – head, torso, tail, thighs and arms before completing the full T. rex form.

    This build is also a small tribute to the 30th anniversary of the real-time strategy game Command & Conquer. Inspired by the game’s hidden Covert Ops T. rex units, the model’s dramatic teeth, golden eyes, and mottled hide reinterpret the classic predator as a game-world war-beast. It is a playful crossover between model-building craftsmanship and a beloved gaming milestone.

  • Terminator HK Tank

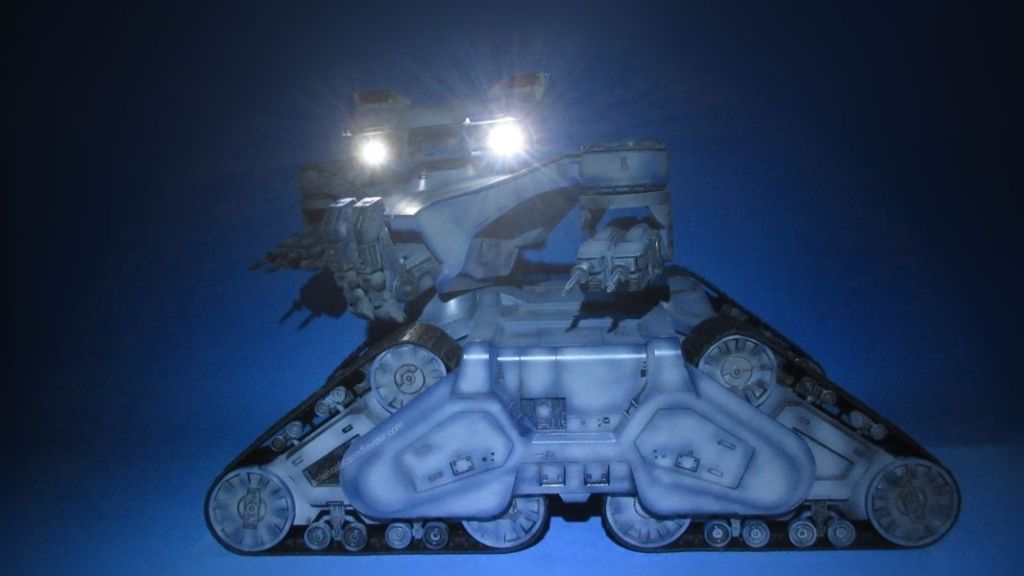
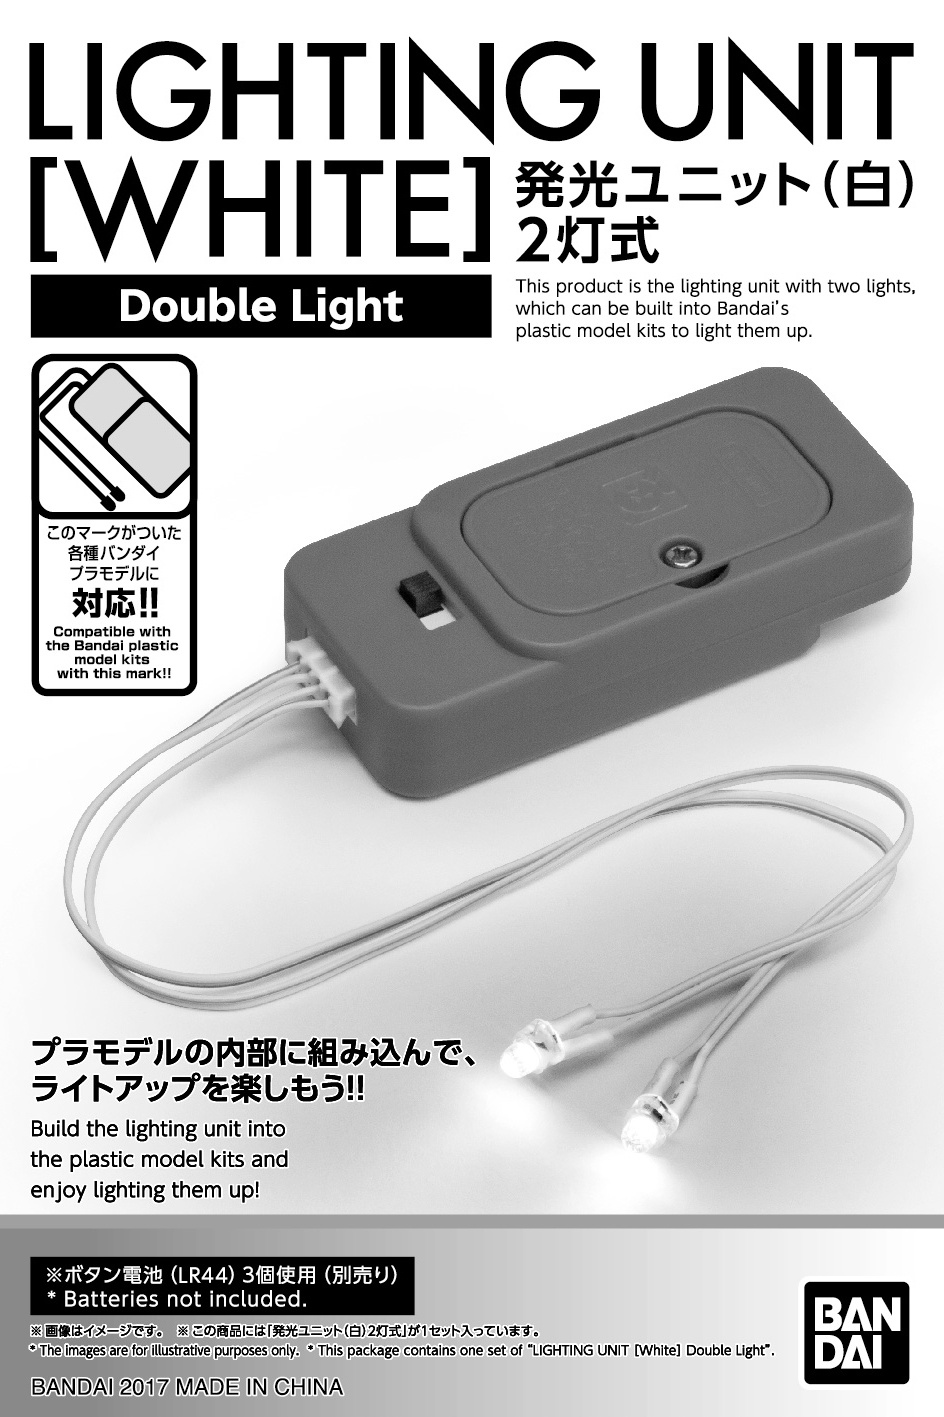
    1/32nd Scale Model Kit from Pegasus Hobbies. Spent considerable time joining the parts with super glue. Held the continuous tracks together with staples. Used a nipper to “drill” holes at the machine’s faceplate and neck plate to facilitate the connections for the Lighting Unit bulbs. Performed weathering airbrushing with Mr Hobby paint 306.

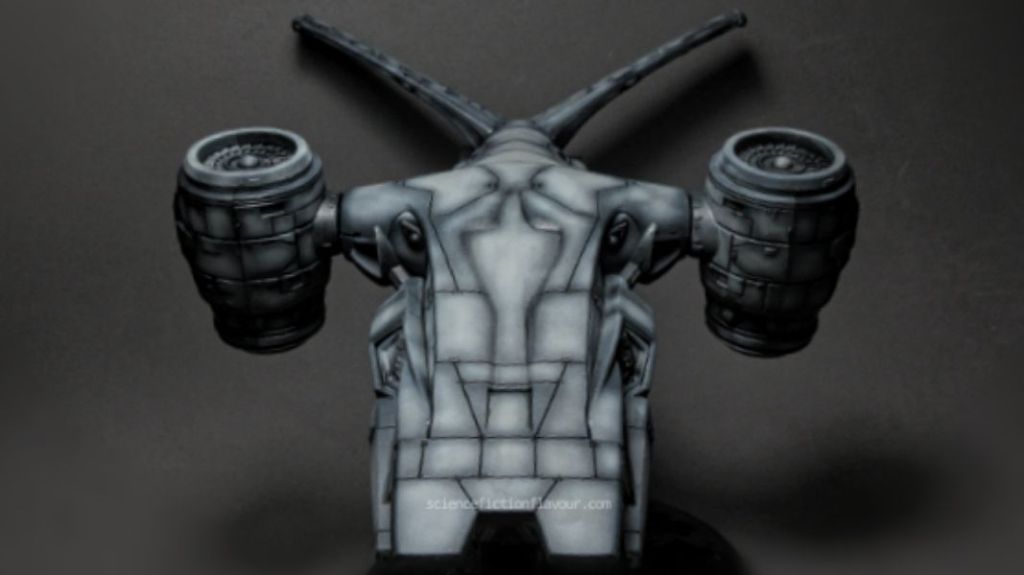
  • Aerial HK Machine

    1/32 scale plastic model from Pegasus Hobbies. A straight forward kit that can be assembled quickly with the occasional use of cement. There were plenty of panel lines for accentuating, particularly at its “belly” where the details are more intricate.