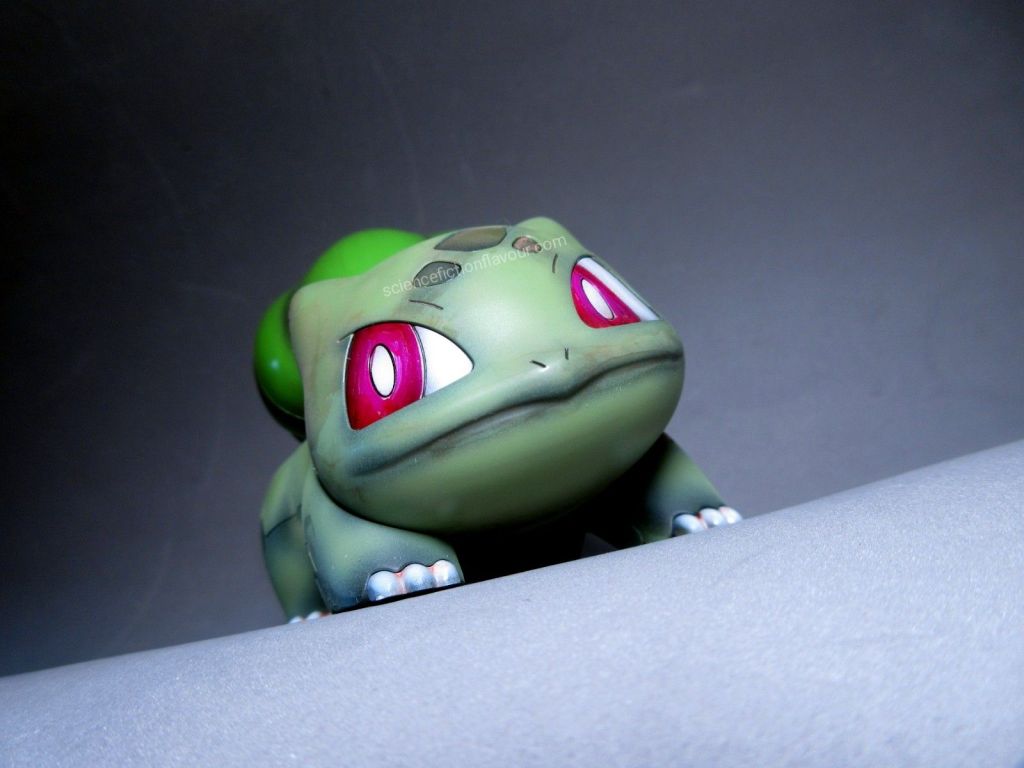
Bandai PokéPla Mew – Airbrush Base Coat & Weathered Custom Finish
I recently completed Bandai’s PokéPla Mew plastic model kit, but instead of building it straight out of the box, I pushed it in a more stylised direction using airbrush work, selective colour treatment, and panel lining.
The goal was to move away from the clean, toy-like finish and explore a more muted, weathered interpretation of the character while still preserving its recognisable form.
Materials and Paints Used
For this build, I worked with a combination of airbrush and hand-detailing materials:
•Airbrush setup
•Mr Hobby Mr Color No. 18 (RLM70 Black Green)
•Mr Hobby Mr Color No. 112 (Character Flesh 2)
•Mr Hobby Mr Color No. 110 (Character Blue)
•Mr Hobby Mr Color No. 107 (Character White)
•Pink permanent marker
•Tamiya Panel Line Accent Colour (Black)
•Original kit stickers (used as masking aids for eye detailing)
Base Coating the Entire Kit
The first step was to unify all parts using an airbrushed base coat of Mr Color 18 (RLM70 Black Green).
This immediately changed the character of the kit, removing the bright factory colours and replacing them with a darker, more cohesive foundation. Instead of preserving the original colour separation, I chose to reset the visual tone entirely and rebuild contrast through subsequent layers.
Colour Modulation and Surface Variation
With the base coat in place, I began introducing subtle variation across different areas of the model.
The beige moulded parts were weathered using Mr Color 112 (Character Flesh 2). This added a soft tonal shift that remained within the darker overall palette while helping break up uniformity.
For the orange sections, I applied a pink permanent marker, slightly adjusting the tone and pushing it toward a more stylised finish. This created a subtle visual accent and prevented those areas from blending too heavily into the dark base coat.
Eye Detailing and Masking Technique
The eyes were treated as a focal point of the build and received more precise detailing work.
Using Mr Color 110 (Character Blue) and Mr Color 107 (Character White), I painted the eye areas while using the kit’s included stickers as temporary masking guides.
This method allowed for cleaner separation between colours and helped approximate the intended eye shapes without requiring custom masking tape or decals. Despite the small scale, it provided enough control to keep the detailing sharp and readable.
Panel Lining for Depth and Definition
Once all paint layers had fully cured, I applied Tamiya Panel Line Accent Colour (Black) to the recessed panel lines and sculpt details.
This step significantly enhanced depth and readability, especially after the darker base coat reduced natural contrast. The panel lining reintroduced structure to the form and helped define edges and internal contours across the model.
Final Result
The finished Mew presents a noticeably different interpretation from the original kit design.
The combination of a dark airbrushed base, selective colour modulation, and panel lining transforms it from a bright, soft character figure into a more subdued and atmospheric display piece. While it still reads clearly as Mew, the overall impression is more grounded and stylised.
This build also served as an experiment in how far a simple PokéPla kit can be pushed using basic modelling techniques, and how dramatically mood and character can shift through paint alone.
A Quiet Milestone
The build was completed on 6 July 2026, the 10th anniversary of Pokémon GO, adding a fitting contextual layer to a Pokémon-themed project. It quietly links a physical model build to one of the franchise’s most culturally significant modern milestones.