Author: sciencefictionflavour

  • Nike Air Jordon 1

    Building the Bandai Nike Air Jordan Plastic Model Kit

    This project is a reinterpretation of the Bandai Nike Air Jordan plastic model kit, approached not as a clean display build, but as a subtly worn sneaker object. The goal was to sit between scale modelling and product design — capturing material depth, tonal variation, and light ageing without pushing the piece into an overly artificial or exaggerated weathered state.

    Design Direction

    The kit provides multiple colour directions across its runners, including a grayscale-based scheme and an alternate variant with beige-toned elements.

    For this build, I chose to focus on the grayscale direction to maintain a more unified visual language. This allowed the final piece to emphasise material contrast, weathering variation, and surface depth within a restrained palette.

    Base Preparation

    All parts were first airbrushed with Mr Hobby Mr Color No. 2 as a unified base coat. This created a consistent foundation across the different plastic tones and ensured that subsequent weathering would behave coherently across all surfaces.

    Weathering Approach

    Rather than applying a single universal weathering tone, I treated each injection-moulded colour as a different material requiring its own interpretation. The intent was not to simulate heavy damage or dirt accumulation, but to introduce subtle ageing — similar to how real sneakers develop uneven wear across different materials.

    Black Injection-Moulded Parts

    Weathered using Mr Color No. 13, producing a softened, slightly faded rubber-like appearance.

    Grey Injection-Moulded Parts

    Weathered using a custom mix of Mr Color No. 13 and No. 107, balancing contrast while maintaining a muted, dusty tone.

    White Injection-Moulded Parts

    Weathered using Mr Color No. 107 to create a lightly aged midsole-like effect.

    Panel Line Detailing

    After weathering, Tamiya Black Accent Fluid was applied to bring out recessed details and structural lines across the model.
    Once dried, excess fluid was cleaned using thinner and cotton buds, leaving definition in the panel lines while preserving surface softness.
    Unlike traditional mechanical model kits, the panel lines in this context function less as structural separations and more as stitched seams, material joins, and subtle shadow breaks within the sneaker design.

    Final Impression

    The overall aim of this build was to maintain a balance between fashion object and scale model. Rather than pushing the surface treatment toward a heavily mechanical or overly aggressive weathering style, the focus remained on controlled tonal variation and material realism.

    The result is a sneaker model that feels lightly worn and physically grounded, while still retaining the clarity and design language of its original form.

    Project Context

    Completed on 30 May 2026, the project coincides with the 55th anniversary of Blue Ribbon Sports being renamed Nike in 1971. The timing served as context for reinterpreting the Air Jordan silhouette as a scale model object shaped through material treatment, tonal restraint, and subtle surface ageing.

  • Darkstar

    Building the Bellfine 1/72 Darkstar from Top Gun: Maverick

    The Darkstar sequence from Top Gun: Maverick was one of the most memorable parts of the film for me, so I decided to pick up the Bellfine 1/72 scale kit and attempt a full painted build. Although the aircraft itself is fictional, its presentation in the movie blends futuristic aerospace styling with realistic experimental aircraft design, which made it an interesting project to work on.

    Initial Preparation and Painting

    The kit runners came moulded in black, white, and clear plastic. For the main body, I airbrushed the black and white runners using Mr. Hobby Mr Color No.18. The clear parts were left unpainted to preserve their transparency.

    After allowing the base coat to settle, I began masking selected areas using 5 mm masking tape. The highlighted sections were then airbrushed with Mr. Hobby Mr Color No.13 Neutral Grey. This helped break up the otherwise dark surface and introduced subtle tonal variation across the aircraft.

    The white sections were lightly weathered using Character White to reduce the stark contrast and give the aircraft a slightly more operational appearance rather than a factory-fresh finish.

    Assembly Process

    Once painting was completed, assembly of the main airframe proceeded relatively smoothly. The sleek fuselage and blended wing design captured the cinematic appearance of Darkstar very well once fully assembled.

    The landing gear, however, turned out to be the most delicate part of the project. The subassemblies had to be glued progressively in phases due to the small contact points and narrow support structures. I used Tamiya cement throughout the process, but even after curing, the assembled landing gear remained fragile under the weight of the completed aircraft.

    After completing the landing gear installation and photographing the model in its parked configuration, parts of the assembly began separating under load. To avoid further damage, I eventually removed the landing gear and decided to display the aircraft exclusively in flight mode.

    Display Solution

    One unexpected challenge was the absence of an included display stand. Since the Darkstar is visually better suited for an airborne presentation, I improvised by adapting a Bandai Action Base using the peg-type holder attachment.

    Although it was not specifically designed for this kit, the setup provided enough support for stable flight-mode display and photography. In the end, the airborne presentation arguably suited the aircraft more naturally than a grounded configuration.

    Decal Application

    Applying the water slide decals took approximately an hour. Once the decals had dried, I used a damp cotton bud to gently remove residual water marks and adhesive residue surrounding the decal edges. This helped the markings blend more cleanly into the painted surface and improved the overall finish of the model.

    Final Thoughts

    Despite some engineering limitations — particularly the fragile landing gear and lack of a dedicated display stand — the Bellfine 1/72 Darkstar still turned out to be an enjoyable and visually striking build.

    The combination of dark tones, subtle grey panel variation, and in-flight presentation helped capture the futuristic hypersonic aircraft aesthetic seen in Top Gun: Maverick. While the kit required some improvisation and patience during assembly, the final result displays very well and stands out nicely alongside more conventional aircraft models.

    Overall, this project felt like a blend of traditional aircraft modelling and science-fiction display building, which made it a uniquely satisfying addition to the collection.

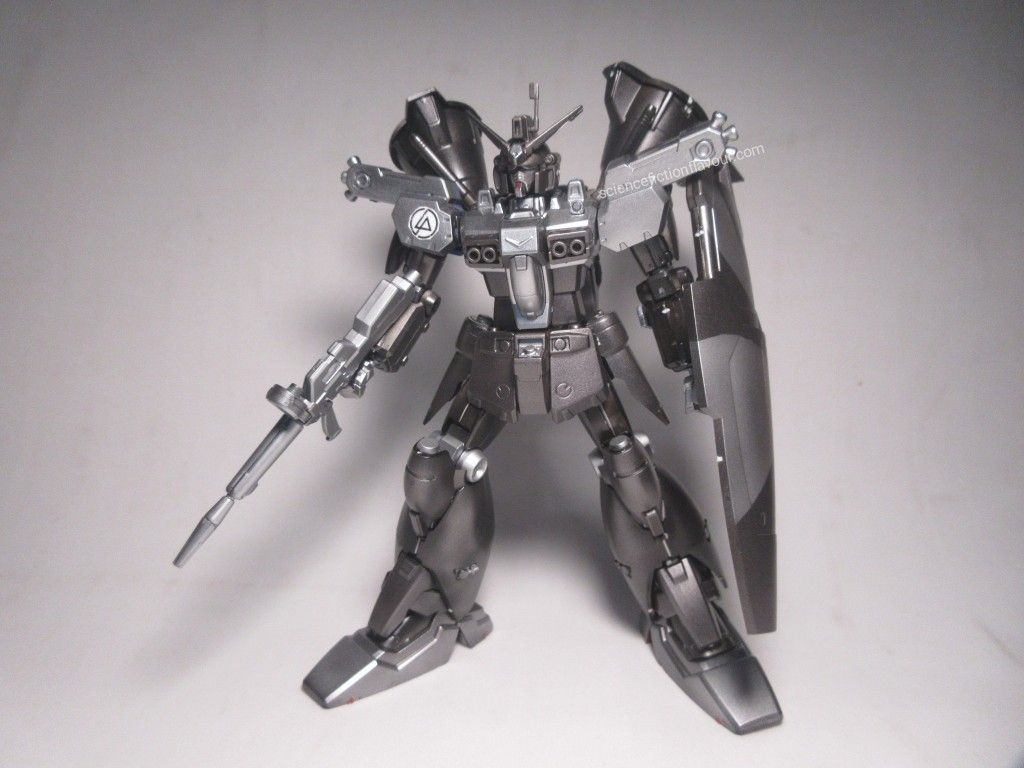
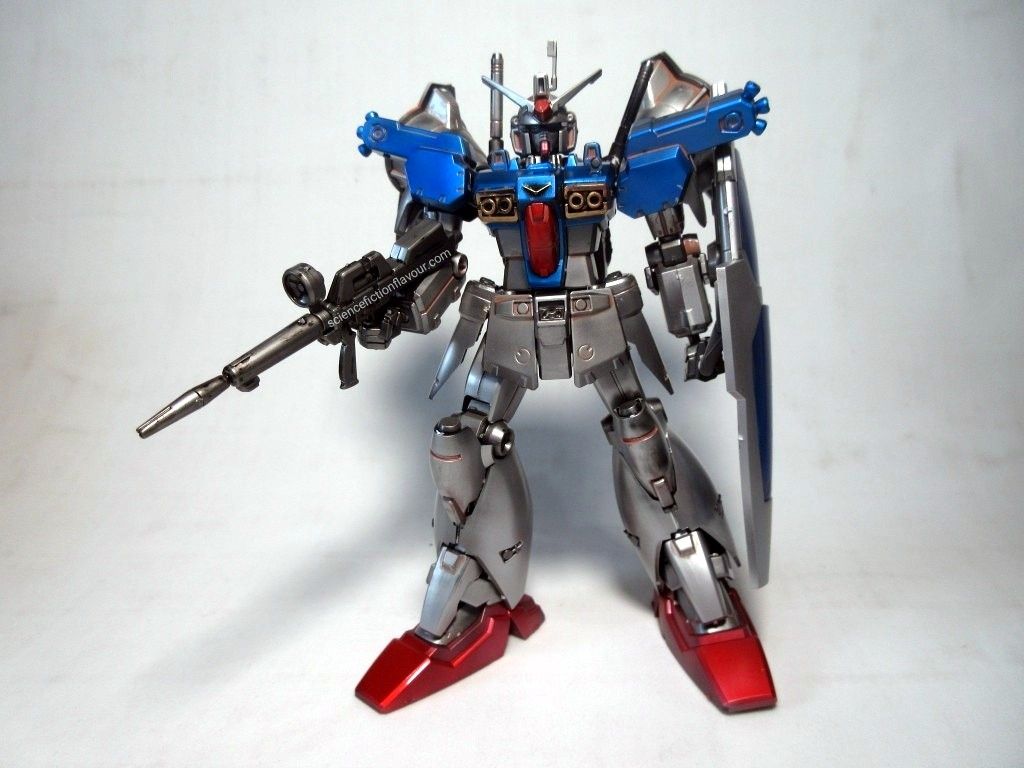
  • Amazing Strike Freedom Gundam, Phantaci Edition


    This project was undertaken as a personal tribute piece to commemorate 10 April 2026, alongside the release of Children of the Sun. Following an earlier Freedom Gundam + Meteor Unit build, this iteration explores what a modern “successor” to Freedom might look like through a Phantaci-inspired aesthetic.


    Paintwork & Colour Concept
    The build began with a full base coat applied directly onto the runners using Mr. Hobby Mr. Colour No. 18 (German Aircraft Grey). This provided a neutral, slightly industrial tone that would later contrast well with the brighter accent colours.


    Selected armour segments were then treated with:
    ▪︎Mr. Colour No. 9 Gold for highlights and mechanical emphasis
    ▪︎A custom mixed pink, created by blending:
    •Mr. Colour No. 108 Character Red (semi-gloss)
    •Mr. Colour Gundam Colour UG8 (MS Purple)


    The resulting tone leaned toward a rich, slightly subdued pink with depth—avoiding overly saturated tones while still standing out against the darker base.


    Panel Lining
    After airbrushing, panel lining was carried out to define surface detail and enhance contrast:
    •Tamiya Light Grey Panel Line Accent was used on darker surfaces to maintain subtlety
    •Tamiya Dark Panel Line Accent was applied to the pink and gold sections to sharpen edges and improve readability
    This combination helped preserve clarity across different colour zones without overwhelming the finish.


    Build Experience
    Compared to the HGCE 1/144 ZGMF-X10A Freedom Gundam, the Amazing Strike Freedom Gundam is noticeably more complex in terms of part count. The kit comes with a total of 13 runners, reflecting its hybridized design lineage.
    Despite this, the snap-fit assembly remains straightforward and intuitive, consistent with Bandai’s modern engineering standards. The build process was smooth, with no major complications even after painting.


    One notable observation:
    Even after completing the build according to the manual, approximately 20–30 parts remain unused on the runners. This suggests significant reuse of moulds, likely shared with other kits—possibly the HG 1/144 ZGMF-X20A Strike Freedom Gundam or related variants.


    Design Notes & Interpretation
    An interesting detail lies in the model designation.


    While this kit represents the Amazing Strike Freedom Gundam, its prefix is labelled as ZGMF-X10A-A, rather than continuing into the X20A line typically associated with Strike Freedom.

    This raises an intriguing interpretation:
    Rather than being treated as a direct upgrade of Strike Freedom, the mechanical design seems to position this unit as a true successor to the original ZGMF-X10A Freedom Gundam—a reinterpretation rather than a numerical escalation.


    In that sense, the Amazing Strike Freedom feels less like a “next version,” and more like a refined continuation of the Freedom philosophy:
    •Balanced silhouette
    •Controlled firepower
    •Emphasis on form, presence, and identity


    Closing Thoughts
    This build was completed during late hours after work—an exercise in both discipline and creative release. The Phantaci Edition (Ver. J) concept ties together music, design, and Gunpla into a single cohesive expression.


    More than just a model, this piece represents:
    •A continuation of a previous Freedom tribute
    •A reflection of evolving artistic direction
    •And a personal milestone tied to a specific moment in time


    Freedom was never meant to end—only to evolve.

  • Mewtwo

    Mewtwo Plastic Model from Bandai


    Preparation
    The build started with nitrile gloves to avoid fingerprints, and all runners were unpacked and prepped for painting. A base coat of Mr. Hobby Mr. Colour No. 18 (semi-gloss black) was applied to create a solid foundation and subtle depth for the colours to come.


    Colour Tones and Weathering
    The kit’s runners came in two shades of purple—light and dark.


    ▪︎Light purple parts: Subtle weathering was applied using Gundam Colour MS Purple, enhancing depth while preserving the base tone.


    ▪︎Dark purple parts: A custom colour was mixed from:
    •MS Purple
    •Mr. Hobby 605 (semi-gloss)
    •Mr. Hobby Character Red (semi-gloss)


    These darker parts were carefully weathered to bring out shadows and contrast, giving the model a dynamic, lifelike appearance.


    Eyes and Facial Details
    The eyeballs were highlighted with a silver marker, and the pupils were outlined with dark pink and black markers. This created a subtle panda-eye effect, giving Mewtwo a hostile, sleep-deprived expression that emphasizes its awakened and intense personality.


    Curing
    All parts were allowed to cure overnight to ensure the semi-gloss paint hardened fully, minimizing the risk of fingerprints or smudges.


    Summary
    This build goes beyond a standard plastic kit: careful base coating, custom colour mixing, weathering, and detailed eye work transform the figure into a collector-grade display piece that captures the character’s intensity and cinematic quality.

  • Bulbasaur

    This build of the Bandai Bulbasaur plastic model focused on depth, tonal variation, and precise surface control. The goal was to elevate a simple kit into a cohesive, visually dynamic piece through careful layering, panel detailing, and considered adjustments.


    Base and Body Layers
    Each part was first coated with a dark base to establish natural shadows and underlying contrast. The body sections were then airbrushed using three distinct shades of green — Mr. Hobby Mr. Color No. 64, 303, and 605. Layered application preserved subtle hints of the darker undercoat, preventing the finish from appearing flat and giving the model a more dimensional presence.


    Whites, Reds, and Eye Detailing
    White and red components were finished in semi-gloss for clarity and restrained shine. During the eye detailing stage, a slight freehand overspray caused some white to mist into the red area. Rather than stripping and repainting, the section was corrected using a dark pink marker. The resulting dark-pink-and-white combination added a softer character to the eyes, complementing the overall finish.


    Panel Lines
    To enhance sculpted details, Tamiya Accent Color Panel Line (Black) was applied carefully into recessed lines. Excess wash was removed using enamel thinner and a cotton bud, leaving behind controlled definition that sharpens the contours without overpowering the softer paint tones.


    Final Assembly and Reflection
    Once fully cured and assembled, the model feels cohesive and balanced. The interplay between layered greens, subtle shading, and refined panel lining elevates the kit beyond its base form. Minor adjustments along the way — such as the eye correction — became part of the build’s character rather than setbacks.
    This build demonstrates how patience, layering, and small course corrections can transform a straightforward kit into a polished, display-ready model.

  • Ohmu

    Bandai’s 1/20 Ohmu from Studio Ghibli was completed today, coinciding with Hayao Miyazaki’s 85th birthday, a fitting tribute to the creature’s origin.


    Painting & Weathering:
    All parts were base-coated with dark hobby paint, then airbrushed with plant-green paint to add natural shading. Tamiya Panel Line Accent (brownish-red) highlighted crevices, giving an organic, weathered appearance.
    The clear orb-like eye parts were first coated with a silver marker and then layered with transparent red hobby paint, creating depth and a soft glow.


    Assembly:
    Sides, base, and optic units assembled smoothly. The legs and other limbs, totaling over 50, required careful attachment. The final result is a fully articulated and visually dynamic creature.


    Reflections:
    Pre-painting parts simplifies assembly and ensures consistent weathering.
    Silver under transparent red produces realistic glowing eyes.
    Patience is essential when attaching repetitive parts, but the visual payoff is significant.
    The finished Ohmu serves as a miniature homage to Studio Ghibli’s imaginative creatures.

  • Buzz Lightyear

    Bandai plastic model kit, base-coated in dark tones and airbrushed with desaturated colours for a weathered finish. Water-slide decals add a more grounded, tech-like look. Built to commemorate Toy Story’s 30th anniversary.

  • METEOR Unit and Freedom Gundam

    This HG 1/144 Bandai build pairs the METEOR Unit with the Freedom Gundam in a customised Ver. J theme. The parts were primed in dark tones and weathered with pink and gold accents to bring out a warm, stylised finish. Clear red paints were used on the optics for extra depth, and Phantaci decals complete the look. The project was finished to commemorate the 20th anniversary of Jay Chou’s November’s Chopin.

  • Tyrannosaurus Rex

    This is a 1/35 scale model kit from X-Plus. I began by soaking the unpainted parts in warm soapy water overnight, then rinsed and dried them the following day.

    The dried parts were airbrushed while still on their runners. I used Mr. Hobby Mr. Color paint no. 18 as the base coat, and Mr. Color paint no. 22 for spot accentuations that gradually evolved into larger patch highlights, giving the skin a natural, mottled appearance. To bring out the fine sculpted details, I applied dark Tamiya Panel Accent Color in the recesses. The tongue was airbrushed in Character Red (Mr. Color paint no. 108) and a touch of bright Tamiya Panel Accent Color was used to simulate saliva.

    For the facial details, I highlighted the eyes with gold permanent marker and added pupils with a fine dark marker. All teeth were painted using a silver permanent marker, giving the mouth a dramatic, striking look.

    Final assembly was straightforward but required patience. Since the kit is non-snap-kit, I built subassemblies step by step – head, torso, tail, thighs and arms before completing the full T. rex form.

    This build is also a small tribute to the 30th anniversary of the real-time strategy game Command & Conquer. Inspired by the game’s hidden Covert Ops T. rex units, the model’s dramatic teeth, golden eyes, and mottled hide reinterpret the classic predator as a game-world war-beast. It is a playful crossover between model-building craftsmanship and a beloved gaming milestone.