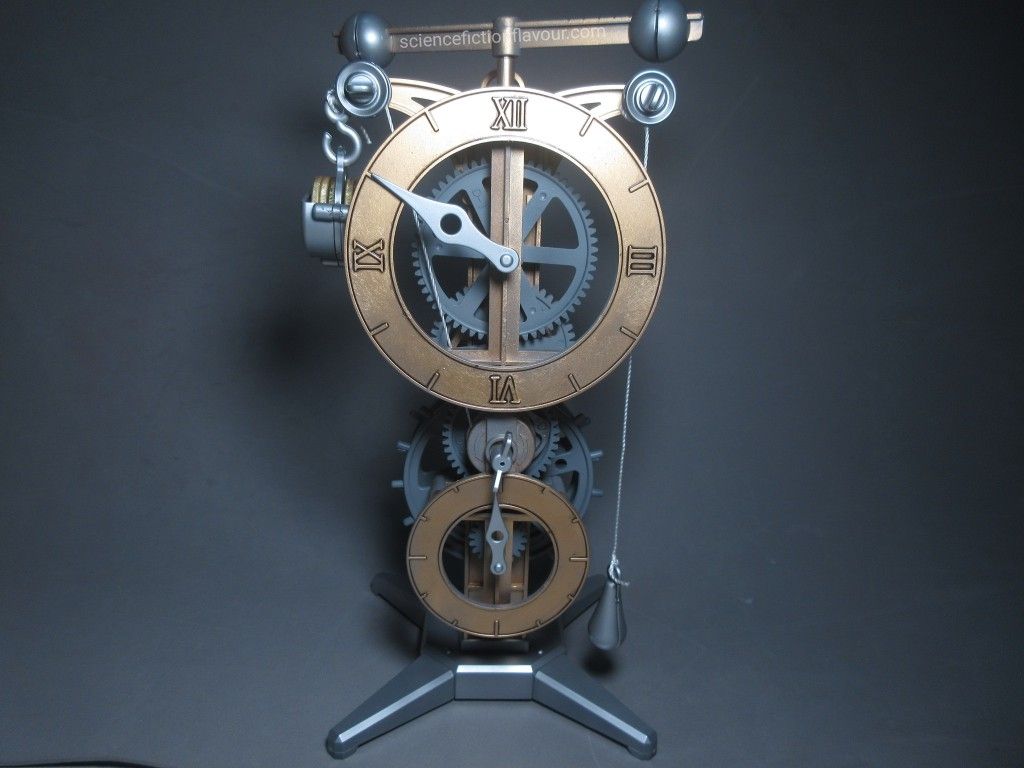
Academy Da Vinci Series Clock Model Kit
Completed on 10 October 2026 — Journée Internationale de l’Horlogerie
Painting and Preparation
All parts were airbrushed with GSI Creos Mr. Hobby Mr. Color No. 13 Neutral Grey as a base coat.
Parts moulded on the brown runners were subsequently airbrushed with Mr. Color No. 9 Gold, while parts on the dark grey runners received Mr. Color No. 8 Silver. The individual dark grey plastic parts that had been detached from the runners were left in Neutral Grey.
Other individual parts moulded in brown plastic were airbrushed with Mr. Color No. 9 Gold. These included the beams and clock faces, giving them a metallic finish.
For easier handling during painting, individual parts that came separately from the runners were mounted on satay sticks before airbrushing.
Panel Lining
After airbrushing, Tamiya Panel Line Accent Color (Black) was applied to bring out the details. Excess panel liner was removed using cotton buds moistened with Tamiya X-20 Thinner.
This helped accentuate the mechanical details and add definition to the clock’s various components.
Assembly
Assembly was generally straightforward, with the instruction manual providing a clear sequence to follow.
The only challenging point came at Step 3, where a vice clamp was needed to secure parts A7 and A8 to part B-2. The clamp provided the additional pressure needed to fit the components together properly.
The kit also included metal rods of specific lengths that had to be measured during assembly. A measuring tape was therefore necessary to check their dimensions. In the end, I used an IKEA paper measuring tape that I had on hand. Haha!
Completion
The Academy Da Vinci Series Clock Model Kit was completed on 10 October 2026, coinciding with Journée Internationale de l’Horlogerie (International Watchmaking Day).
This was an interesting change from assembling conventional plastic model kits. Beyond painting and detailing the components, the build involved fitting mechanical parts together and measuring metal rods to the required lengths.
Although assembly was generally straightforward, Step 3 required some extra effort, while the metal rods called for careful measurement. Overall, it was a satisfying project that combined model-making techniques with practical mechanical work.
Completing a clock model on a day dedicated to horology made for a particularly fitting conclusion to the build.


Leave a Reply